
Anyhow, these are a series of photos I took in Curtis Buchanan's shop while I did my research on the drawings for his chair plans I drew. I think the photos are pretty self explanatory so I won't go into detail to much. Others that are better at explaining it than me have already done so but I find that lots of pictures really help in seeing all the angles. Hope you like these.

Lay out the pattern, drill leg holes, arm support, center spindle and a few practice holes on the edge. (Was a different bit than I was familiar with :) )

Fit legs.

Adze work and carve gutter.

Bandsaw front profile and Inshave work.

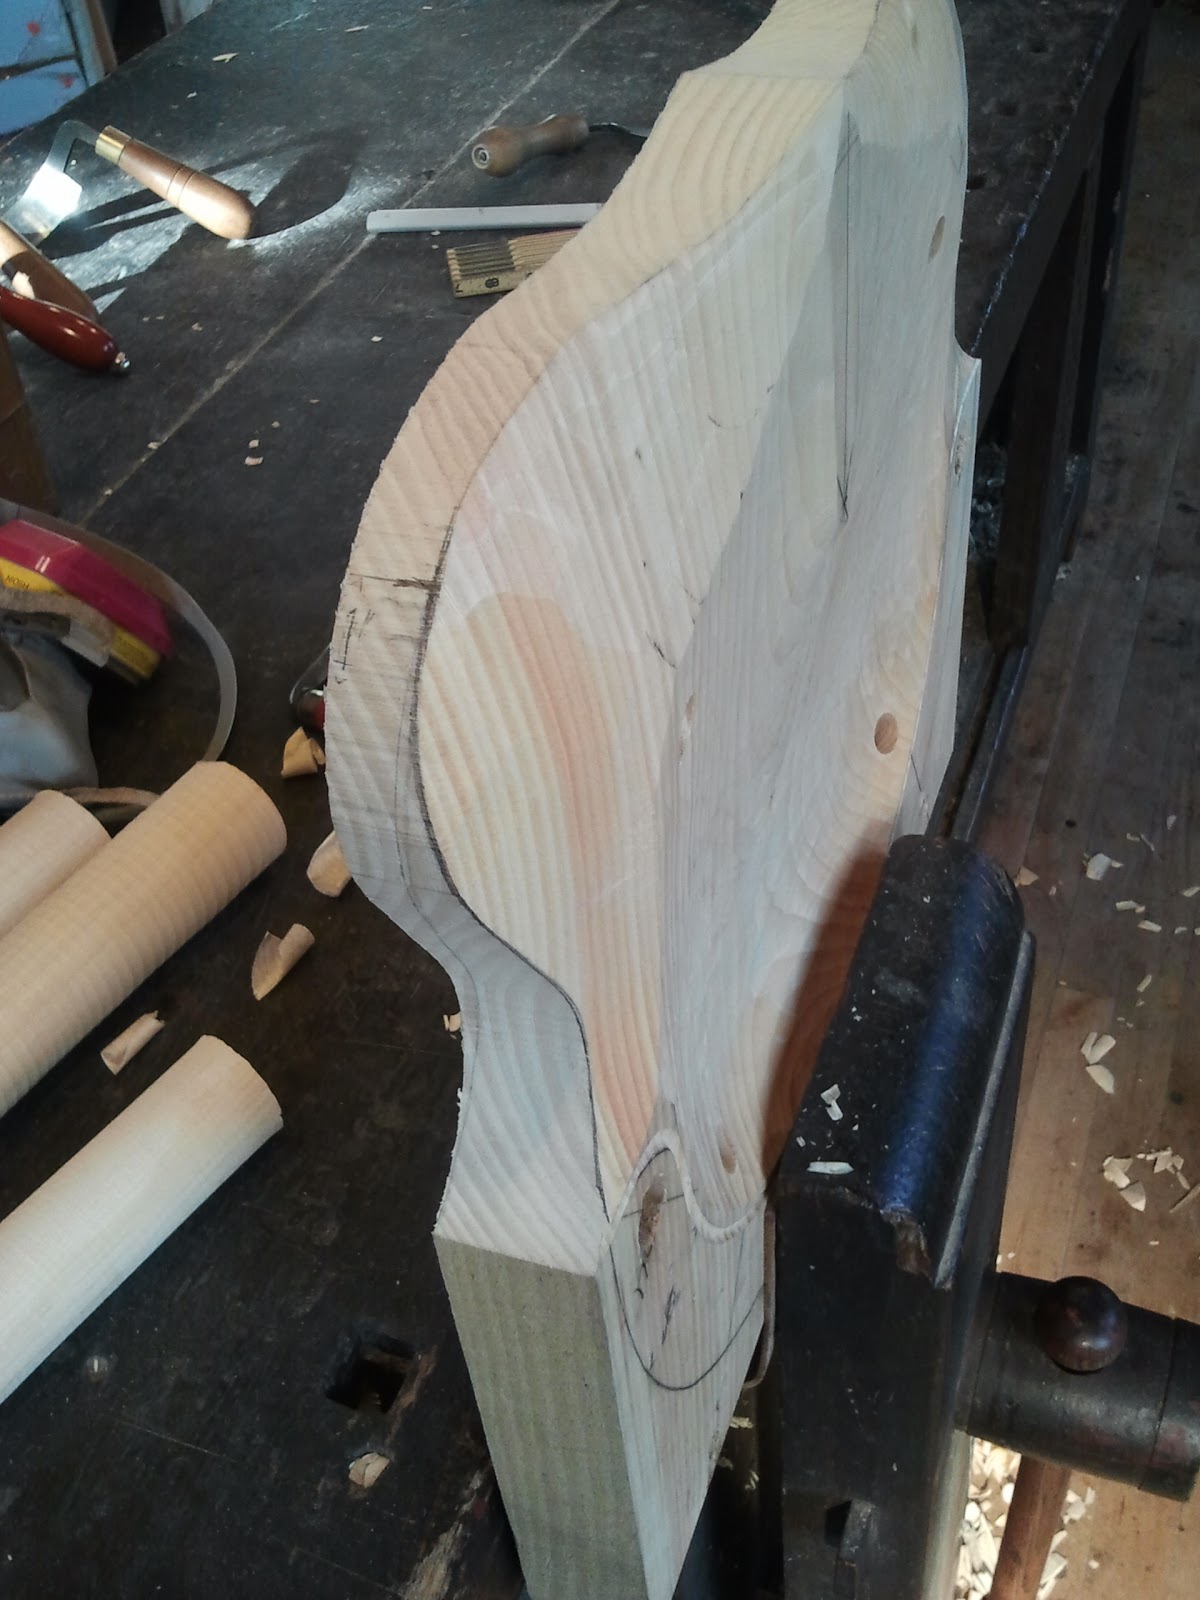
Layout outside edge of seat.

Front view of layout.

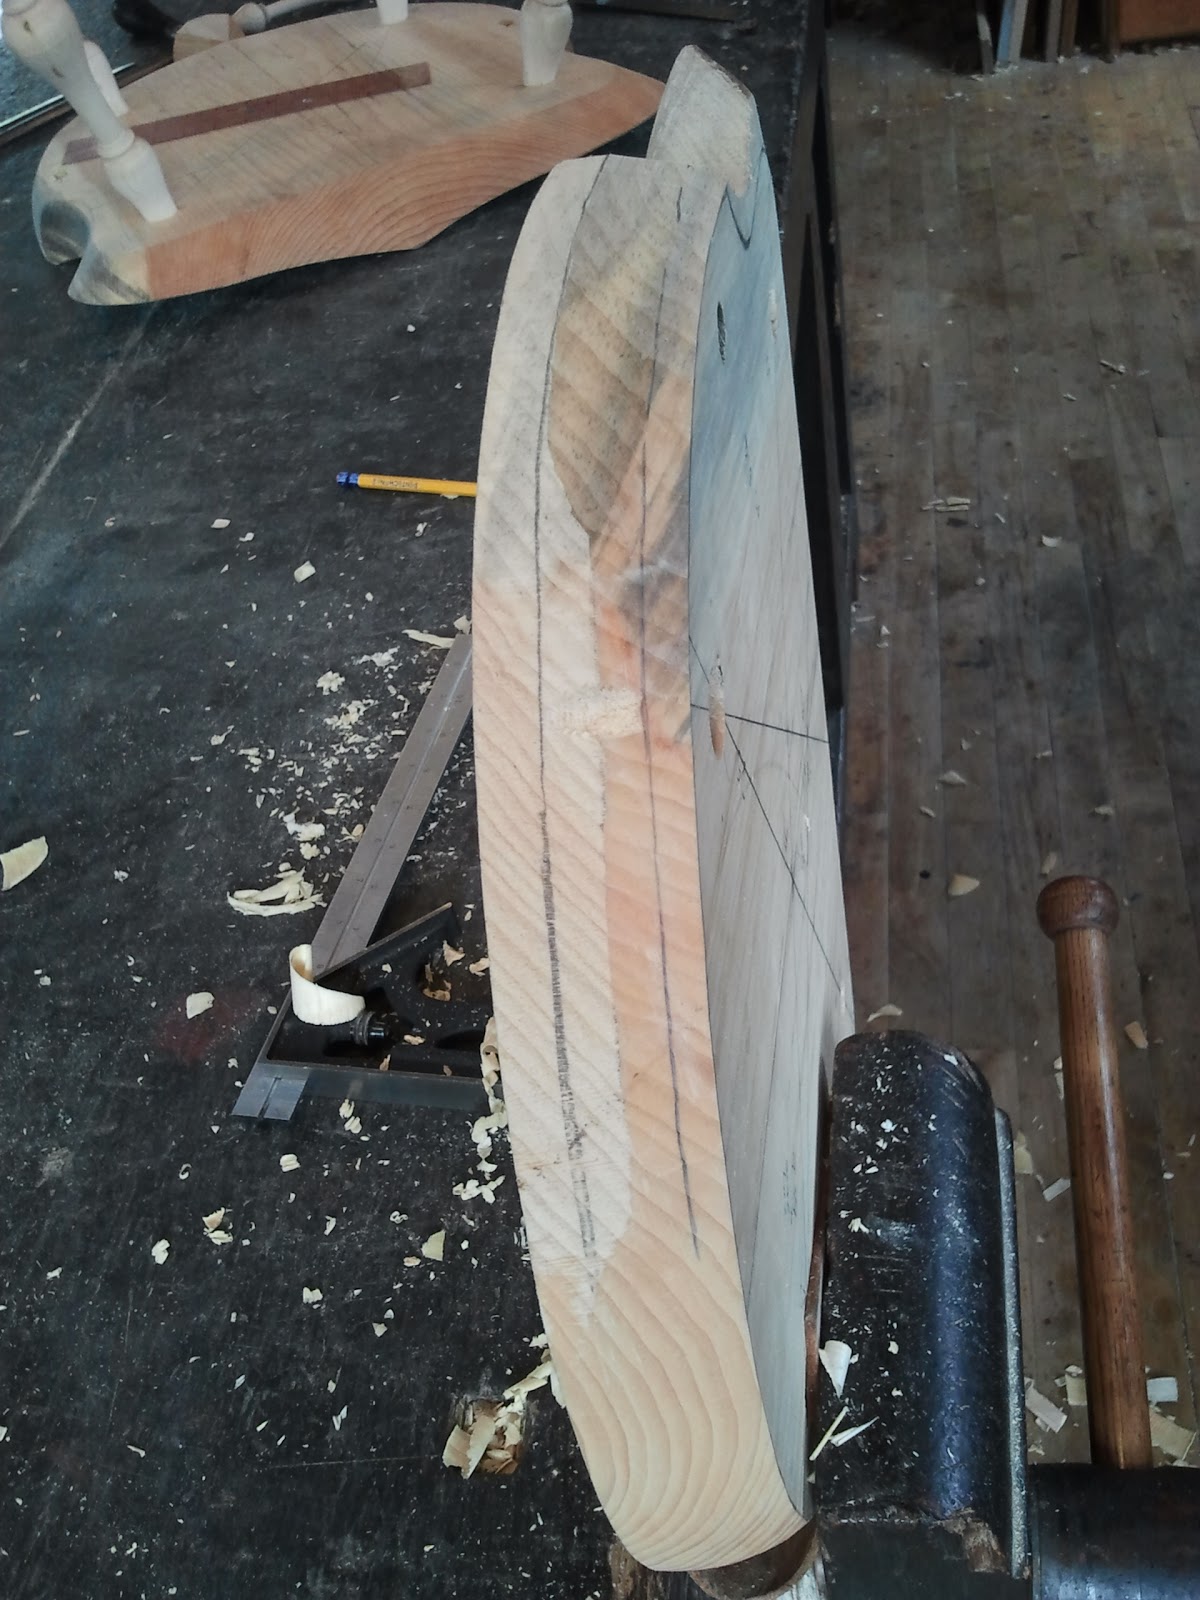
Remove bulk with drawknife @ front vise. Use a wide one so your handles have more clearance for those slicing/skewed cuts.
Some more angles.


Refine with travisher. Use inshave to work concave area near gutter at arm post. Also some initial spoke shave work

Block plane down from front of pommel towards depth of seat. Redraw center line for reference.

Refine pommel with travisher and spoke shave seat front.

Two more views.


Layout seat bottom.

Drawknife front bottom edge and follow with spoke shave. Give it a slight convexed edge about the last 1/2 inch back.

Layout seat side and drawknife only. Ok you can use a spokeshave or other if you must. I won't judge. :)

Sorry I don't have step by step photos of this part. I don't like to stop when I get going. Lots of focus to do this right with the drawknife only. Lots of skewed slicing cuts here. Have a very sharp knife. If you have two drawknives you might leave one shaped and sharpened for just this task.

Shape back edge in two steps (refer to layout photo above) with drawknife and follow with spoke shave to blend.
Another view. Don't forget to chamfer the back top edge of the seat with drawknife. I forgot to take a photo.

Bottom view complete.

Another view.

Finish up top of seat only with scrapers followed by 180 grit paper. Raise grain and lightly sand with 220. Now leg it up!
Hope that was informative. By the way this is in eastern white pine from one solid board. That makes it so much easier to shape.
Hey Caleb, heck yeah, this was informative! Thanks for the great post! And also, thanks for emailing me back about the beech plane blanks. I will keep an eye on your blog for an announcement about them.
ReplyDelete-Steve
Excellent, glad to here that. :)
DeleteCaleb,
ReplyDeleteThanks for the post.
When you say "fit the legs" do you taper the holes and set the legs at their final depth before carving the seat?
Brandon
Brandon,
DeleteThere are two schools of thought on this. I personally prefer to drill and set the leg to final depth before carving. There are those that drill after the carving. That is what Curtis does. We were just discussing that yesterday, actually.
If you know Peter Galbert's work, he does the drilling and setting of the legs before carving as well. As you can probably gather it is a preference thing as opposed to what makes a good chair.