
I don't know about you but videos are excellent to get the feel of something but to study something you want to make, pictures are it.
I tried to include a few angles that showed off some of the different parts, both assembled and disassembled. I threw in a few artsy shots, I can't help myself.

Notice the iron is only heat treated at the end. I never bother trying to do the whole thing. It would take you a very long time to work past this end part in use, anyway. Japanese blades are usually laminated with steel, good for cutting blades, only at the end. So there you have it. I don't know what other planemakers do.

The secret to that curving chamfer down the side is to use a drawknife. No planing down a curve here. Spoke shave would work too but I like to go right at it. Plus I already have the drawknife out for making the coffin shape and rounding the heel. Thats right, no band sawing on these parts. I want to be dead on and I would have to clean up the bandsaw marks with something anyway. Probably the chairmaker in me. The drawknife is always in the hand.
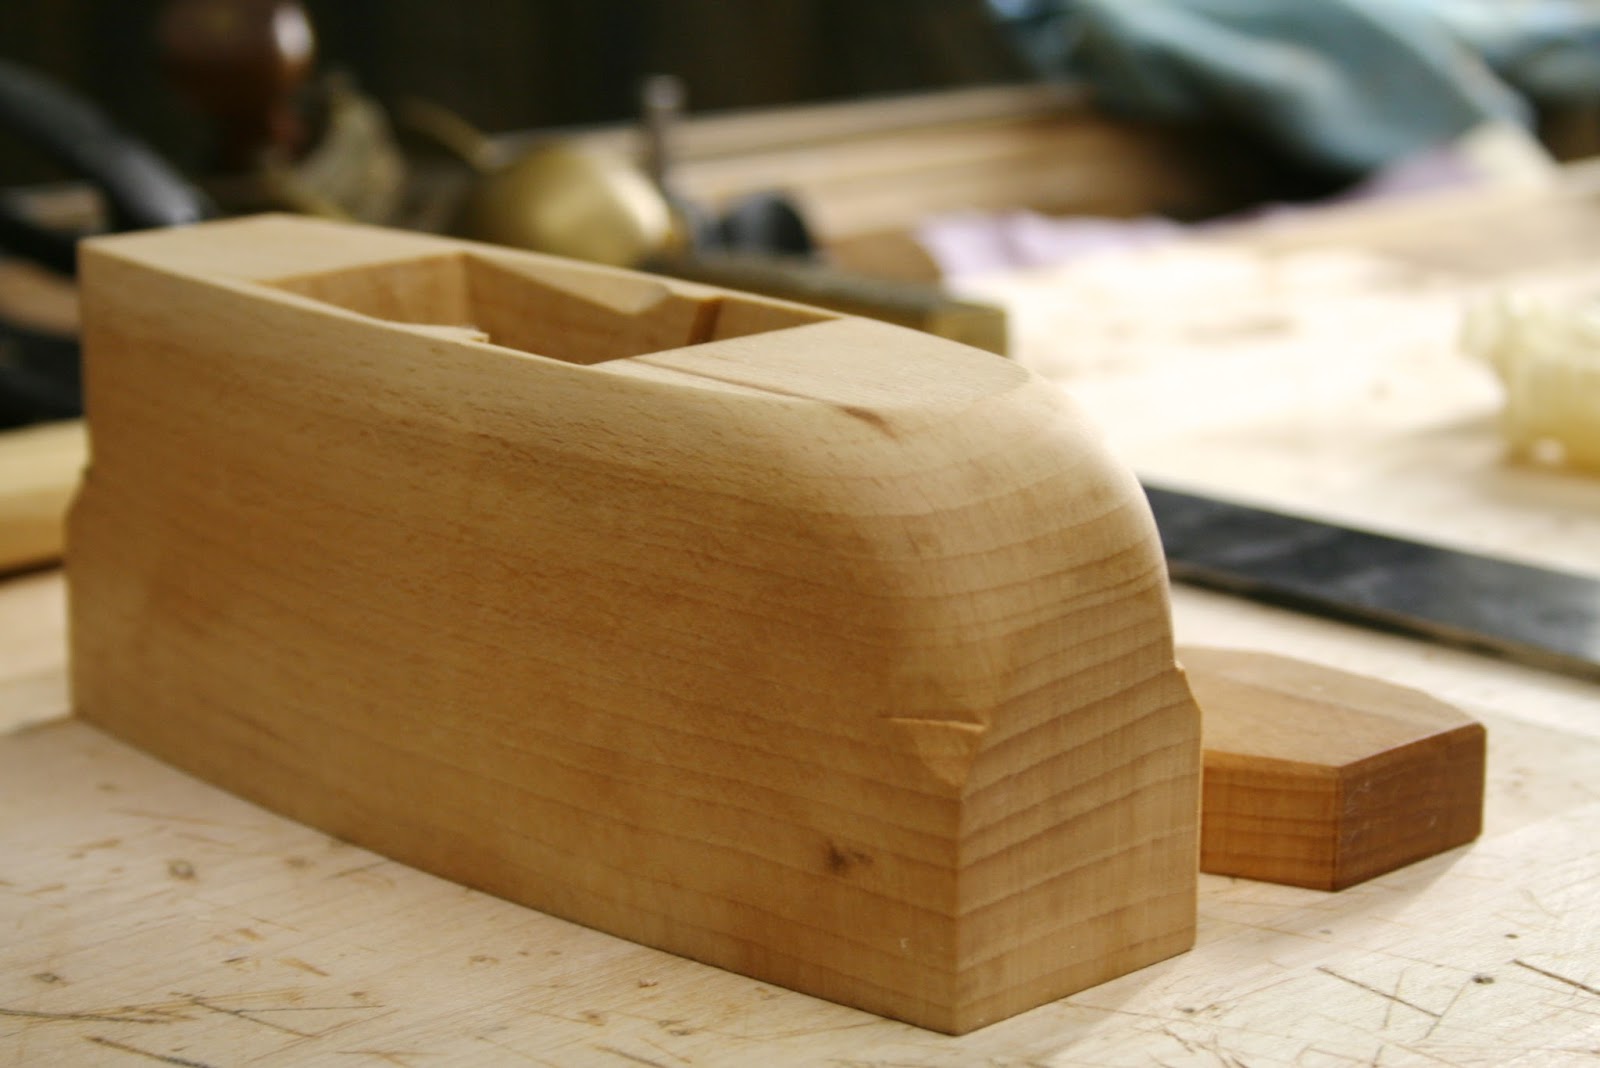


Seeing into the mouth should help demystify that part a little.

Make your vertical chamfers with a chisel and #5 sweep gouge.
If you noticed the growth rings, I broke the rule here of putting the bark side of the wood to the sole. I don't hold to that religiously. If the pith side has a flatter growth ring shape then I will use that side. The more parallel the rays are to each other the less change in shape that area will experience.
Maybe I will post sometime about how beech grows to explain why that happens. I also have other theories as to why for practical reasons the bark side was usually used. Thats for another time.


Here is a little perspective in use.
I can't remember the last time I wanting to make something this much, just so I can use my new tool. Ok, I will stop blabbing.
Have fun in the shop!
No comments:
Post a Comment