Showing posts with label planemaking. Show all posts

Sunday, August 30, 2015

Where to Buy Quarter Sawn American Beech for Planes - UPDATE

I have some pretty great news for all you out there that have been hunting down quarter sawn beech for planemaking. Usually if you can even find QS beech it is usually sold in large quantities at some random sawyer that has no clue what you are wanting to do with it. When you tell you him you don't want 500-1000 bf of it in the green you can hear him rolling his eyes over the phone. He's too nice to just hang up but he's ready to get off the phone and get back to trying to make some money. 


I know your pain. I spent a lot of time and energy getting what I work with. Maybe someday we'll all have a simpler source than practically going and cutting the tree down ourselves and drying it. Well that someday just got a little closer. Isaac Smith over at Blackburn Tools has just acquired a large section of QS beech that looks fantastic in the photos I've seen. He is guaranteeing the quality of the wood which is a plus. I consider his prices quite fair considering it is cut to rough size and you can purchase in such a small quantity. (as of 8/27/15)


On behalf of all the aspiring planemakers out there Isaac I say "thank you." Very nice to see you offering this and I hope you keep doing so. Spread the word so that Isaac makes this worth his time and will keep it up!

Monday, August 24, 2015

How to Heat Treat Tool Steel for the Hobbyist Tool Maker

As I finish up an article for Popular Woodworking on making Roubo's Hollows and Rounds, one of the things I realized I would like to have more room to talk about is heat treating. The volume of material on the subject can make it seem like an overwhelming obstacle when it comes to making your own tools. But, trust me, it is not as challenging as it seems.

Heat treating O1 tool steel, in principle, is quite simple. Hardening the steel is not much more than bringing it to critical temperature (1450˚-1500˚), quenching it in vegetable oil followed by tempering in a 400° oven for one hour. The real challenge lies in minimizing warpage.

The key to success is heating your steel evenly. Creating an enclosure with something such as fire brick will help you achieve this. The enclosure will act to both block the wind and keep the heat more evenly distributed around the steel. You want the heat from the torch to really envelope the steel, so that means smaller is probably better.


For your heat source, a simple MAPP gas torch will work for most hobbyist applications. This will heat treat 1/8" x 1/2" sizes quite well. It will work on larger pieces if you use careful manipulation of the steel in the flame, from my experience. MAPP gas can heat the steel very quickly - but that is not what you want to do! Remember that even heating of the steel will minimize warpage - so take it slow. If one side is hotter than the other when you quench it in the oil, it will warp. So, again, heat slowly

There are a few methods that will help you determine when you have reached critical temperature. Avoid relying on color to determine temperature since ambient light will affect what color you see. Just like a flashlight appears brighter at night than in daylight, so too color alone in changing light conditions can be deceptive. The simplest way to check that you have reached critical temperature is to use a magnet since O1 tool steel looses its magnetism at approximately this temperature. Below is a short video on how to do this.


Another option is to watch the surface quality of the steel. It will change when critical temperature is reached because the carbon begins to flow within the steel and some decarburization takes place at the surface, thus changing how it looks. It can be described as the steel “sweating” or having a “flushed” appearance. This can take practice to train your eye to see this. The extent to which it occurs also depends on how clean the surface of the steel is and how much oxygen is present. Its best to start with the magnet method and then once you learn what it should look like then you can switch to just doing it by eye. Larry Williams of Old Street Tools has a great video showing what this looks like.


Just as even heating is critical to minimizing warpage, even quenching is essential. Once critical temperature is reached, quench the steel in oil by plunging the blade straight down vertically, not leaning to one side or the other. Plunging down with the blade leaning will cause one side to cool more quickly than the other and warpage will occur. Don't swirl it in the oil, either. That will also cause one side to cool more quickly than the other. Just plunge straight down. 

WARNING: Do not put your hand directly above the oil when you quench your blade. The heat of the steel may cause a small flare up of the oil, burning whatever is in it's path. It is always best to do this outside, well away from any wood shavings, and have a fire extinguisher on hand. Better safe than sorry.

After quenching immediately move the blade to your oven to temper for one hour at 400˚. This will leave you with a hardness of around 62Rc. Plenty good for any woodworking application.

Enjoy!


Friday, May 29, 2015

What is a Mother Plane?


I get asked all the time at events where I demonstrate my planes - "How do you cut the profiles on the sole?"

The answer is easy...well, sort of. :) I start by making a plane that is exactly like I want my final production plane to be. I call this my prototype plane. I cut that profile with hollows and rounds along with rabbets and/or plow planes. However, I don't want to do that for every plane I want to make in the future because it would be tedious and take a really long time. Therefore, I use this prototype plane to make a mother plane which is essentially a "negative" of the profile I want.


I can then cut multiple plane soles with this mother plane, all of them being virtually identical. These planes that are made from the mother are then called daughter planes. It is a good process but it is tricky to make a good mother plane. It involves making planes with multiple irons in order to cut these mucho complex profiles.


I have been making these mother planes for quite some time now, and was thrilled to discuss them with Bill Anderson recently. He is in the process of studying a very large collection of antique mother planes and he told me that the original makers would typically combine multiple dedicated planes to make complex profiles rather than putting multiple irons in a single plane. I can see some advantage to this, but also some disadvantage. I may try this in the future for some other profiles, and look forward to seeing more from his research down the road.

Anyway, I put together some videos of the process. The first is a time lapse of the process and the others are the full, comparatively slow process. I hope you enjoy seeing how this is done.

Also there are a few of these Ogee and reverse Ogee planes left in the shop.


Wednesday, December 10, 2014

How To Glue In Boxing On Moulding Planes

When it comes to making certain moulding profiles you have to take into consideration how the sole of the plane will hold up to heavy wear. If the profile focuses a lot of friction on a relatively small area then it will likely not hold up very long.


A very good example is the quirk of a beading plane. You simple don't see beading planes without boxing. The quirk would very quickly wear away without it. 

There are other places that you would see boxing used in profiles and even boxing for fences. I talk more in-depth about boxing in a post here.

I thought it would be interesting to share my approach to installing boxing via a video. The process is essentially to make strips of boxing. It is not easily described how I rough out the boxing strips but it involves a slot cutter. All the strips are roughed out over size and then individually fitted to the groove cut in the plane body. I cut this groove at the table saw. 


The process is involved but when done right it can be glued in with hide glue and just tapped into place with a hammer and that is it. I do not use any clamps to secure the boxing while it drys. Even without the glue the boxing would be difficult to remove just on the friction needed to tap it into place. 


This is an approach I learned while fitting mortice and tenon joints in chairmaking. If you could push the tenon in about half way and it stops without using more force (hammer) then you have a perfect fit that glue only adds a bit more confidence in the joint withstanding stresses in use. The hide glue also acts as a lubricant to make tight joints slide together, unlike a PVA which would bind and lock up in this situation.

You'll notice that the video ends suddenly since my memory ran out right at the end but you get the gist of the process from this video. :) 

I hope you enjoy!


Monday, November 17, 2014

Breaking The Silence

It has seriously been too long since I last blogged. You would think I had nothing good to talk about or show off, but that would not be true. I have, in fact, been so busy that the days just seem to whiz by.

I blame it on two things. One is that I started posting pictures of shop stuff on Instagram and that seems to give me an outlet for my desire to share happenings in the shop. Honestly, it is pretty superficial in that regard, though. I like the meat, the deeper stuff. That only takes place here at the blog, so I need to get my butt back in the chair and out of the shop on occasion.

Second, since I have been full on switching the shop from chairmaking to planemaking, I have had a blast of new inspiration going on. It has kept my head going so much that to stop and put it into words has escaped me. Subjects are there but only half formed. Prototype planes are in the works but only half completed or nearly completed. I have hardware and other things being designed and out sourced on their way to me. And, in all that, I have made a load of beading planes and communicated with a load of customers.


On that note, I am getting used to working with what looks to be a few hundred customers a year as opposed to doing 15-20 big furniture projects a year as before. And, as far as furniture goes, I recently finished up my last furniture project that I had on the books. It's all feeling pretty strange to me but I'm really loving the transition and excited to see how the next year progresses as a full on planemaker.


That all said, I still have several projects for Danish furniture that I will be doing as a personal project. More on that to come. I first have to get my daily work lined out, and it seems to be coming together beautifully.

I have a list of topics for blog posts that I think everyone will find interesting. You chairmakers and planemakers out there will be sure to find some educational stuff in there. Several short videos I have shot on subjects like glue up and a brief one on weaving. One on putting in boxing for planes and making mother planes and the list goes on. So stay tuned I am going to try and catch up.

In the meantime enjoy a few photos of the stacks of beading planes that I have been making.


Take care all!

Friday, July 25, 2014

The Making Of A Traditional Wooden Moulding / Molding Plane

I was having a little fun with a new app on my phone that allows me to take a time lapse video. So, I decided to do a video of me making a moulding plane. Unfortunately, I didn't have enough memory on my phone to do the whole process. Didn't realize this until I was completely done.

Anyhow, this is a little time lapse video of me making the plane from the point of the blank being roughed out to the initial fitting of the wedge. This is probably about 1/6th of the plane making process not including the time to cut the tree, process the log and dry the wood. Nor does it account for iron work or the heat treating process. So in other words it is a snippet of the process but gives you a taste of what is involved.

As you can see, lots of hand work is involved. I would estimate that about 95% of the making of these planes is with hand tools. I use a chainsaw to process the log into manageable sections from the log and then to the bandsaw to take it down to smaller blanks. Then to the kiln for slow drying.

Once it is dried I size the blank on the table saw and cut the shoulder there as well. The wedge is roughed out at the table saw as well on a jig. One of only two jigs for the entire process. Everything after that is done with hand tools all the way to the finish.

All surfaces are left straight from a cutting tool. Either plane, chisel or card scraper. The only exception is truing the final profile with sandpaper to tune it.

Enjoy!


Wednesday, July 23, 2014

Planemaking And Chairmaking Classes In The Works! *PLUS* Surprise Visitors To The Shop!

So, yesterday I had a nice surprise. If you keep up with chairmaker Glen Rundell then you know he has been touring the Eastern half of the United States over the past few weeks. Mostly hanging with Pete and the gang up in Massachusetts, doing the Lie-Nielsen open house (which I missed, ugh!) and things like that. Glen hails from down under in Melbourne. He has come a long way to get some fresh inspiration to take back home with him.

Anyway, Glen was in Virginia taking a class with Jeff Lefkowitz, who teaches the chairmaking courses for Brian Boggs and after the class they loaded up and came down for a visit to the shop. It was a very pleasant surprise.

Left to right; Claire, Caleb, Jeff, Glen

Truthfully, he gave me a day or so notice, so I had good motivation to clean up the shop. I am in the middle of paneling the walls. More on that later. And my wife made some enchiladas verdes as a special treat for lunch. Handmade corn tortillas, umm. She's a Canadian that cooks some good Tex-Mex. Got to love it! (I am really getting off track here)

As I filled them in on the goings on around here I realized I haven't been blogging much lately. I am not one for fluff or filler on the blog but I think maybe I should share with everyone else as well. As I was telling Glen and Jeff, I am planning on taking one half of my shop and dedicating it to a classroom and am almost halfway there. I get pushed by just about every craftsman I know, that I should be teaching classes. I get requests on an ongoing basis as well. I am finally coming around to the idea.


I am looking at, of course, teaching some planemaking classes. Possibly a four day class on making a pair of hollows and rounds and a rabbet plane. I may split these up as two different classes. These would be a really good start and you can make the majority of planes based on those two formats.

The other classes would be some introductory classes on chairmaking. One will be on making a Danish modern stool which will include lathe work, joinery and danish cord weaving. A two or three day class depending on size. The other will be a three leg windsor stool that will have lathe work, hand drilling, reaming and seat carving. Probably a three day class as well depending on size.

I am up in the air about prices as of yet. It has a lot to do with class size and demand. I have room for about six students at a time though I would tend to want the class sizes a bit smaller. We will see.

Send me any suggestions or classes you would prefer to see available so that I can plan accordingly. I am not asking for a commitment but if you are a reader of this blog and see a class here or something related to what I do that you would like to take at some point, then let me know. Your feedback will make a difference.

Thanks and I hope you are enjoying your summer!


Friday, June 20, 2014

Riving Beech For Wooden Planes

So, I am reluctant to admit that I haven't had success riving beech. Why am I reluctant? I really can't say why. I guess I love the idea and frankly the crazy efficiency of riving wood. To those that haven't tried it then it is just mind blowing how quickly you can go form log to working wood. Add to that the way perfectly straight grain wood works has no comparison. You'll wonder why you have been wasting your time with all the sawn stuff. Anyways I love riven wood, OBVIOUSLY. But unfortunately I have not been so fortunate with the beech that I have produced planes from.

Let me explain with a photo. I think it says it all.


I really wish I could find the picture of me trying to split the log this came from. It was like 40" in diameter and had about 10 wedges in it when I gave up and went to rent the biggest chain saw I could get my hands on with a 24" blade. 


If you look closely the fibers follow all the contours. The wood really had that much curl. The distance between the curls is about 7-1/2". That is the biggest curl I have ever seen. 

Anyways, I know that there must be some American beech out there somewhere that is good riving wood. I have yet to find it. It appears the European stuff is much more cooperative from what I read. Until I find some that cooperates with my wedges and froe then I will have to stick with my saw. I still follow the fibers as straight as I can. 

There has been one advantage that seems clear to me and that is the billets that come out of this wood are practically indestructible. I have put some real pressure on thin mortise walls just to test them. They are so tough and that applies to the wedges as well. 

Let me know your experience if you have light to shed on the subject.


Monday, June 16, 2014

Drilling The Mortise On A Moulding Plane Accurately & Efficiently By Hand

I am really excited to be sharing this method of drilling. I know I started this subject a while back on drilling by hand with a bit and brace but I never followed up on the rest of the process. The reason is, frankly, I have struggled a bit with doing this part with absolute confidence every time I approached it. Now though I have been using a new approach that has changed all that. Heres how it goes. Warning- This is a bit of a long post but it is worth it.

First off, out with the bit brace and in with the cordless drill. I know, I know but once you see the results, and I guarantee they are worth it, then you can try this with a bit brace if you want. I love my bit brace but until I find some bits that are long enough, thin enough and don't break then I am going to stick with my new method.

In fact what prompted this new method is that one of the tiny Japanese auger bits I used to drill the mortises broke. I order these from a German supplier and shipping, etc. is a real pain in the wallet. I wanted something simpler.

So then, you will need some long thin drill bits. More on where to source these at the end of the post. Lets get to the process.

The key to making this who process so simple and elegant is a drilling jig. Trust me this isn't cheesy. Whats cool is that you likely already have this jig if you make moulding planes. It is the saw guide jig. This guides your saw as you cut the bed and breast angles. Below is the jig on the plane billet. (Billet has been sawn and waste from escapement chopped away already)

Moulding plane saw guide in place

So this is how it began... I came down to the shop on one weekend before getting ready to do a big order and as I had just broken a tiny auger bit recently I was pondering a new way to get the job done. I was even considering doing the efficient approach Matt Bickford uses with the drill press. Nothing wrong with this method at all. In fact, I had already ordered some long thin drill bits just for giving this method a try. However, If you know me though, I hate to set up any kind of machine or jig. I use them only when it is the most efficient method and only when any other way is just frustrating. As I have said before, I am just too lazy to set up a jig if I don't really really have too. I promise this is not a purist notion it really is just me being lazy.

So, I was thinking about how to make the jigs work on my drill press when my new method just jumped out at me. I though, why not just flip the saw guide around to the top of the billet and then use it as a drilling guide. All that was missing was the other angle for the "lean" of the blade in the plane. 


In practice you will align the jig with your drilling location so that you can just rest your drill lightly against the jig to maintain the correct angle. This takes care of the bed and breast angles.

I figured that the "lean" angle could simply be drawn on the end of the jig and I could just approximate the angle by judging the gap between my drill bit and the drawn line. 


Use the same process on both the bed and breast angles. Then, depending on the # size of plane you are drilling, you will do as many as one or two additional holes between the bed and breast holes.


These above ones are #2s and the ones below are #4s. I always do four holes for the #2 and three holes for the #4. The center holes are just approximated but I still use the lean angles on the jig to keep that on track. 

You will want to start with some very shallow pilot holes. Just deep enough to get the bit started at a steep angle. I do this before placing the jig on the billet. Start the drill bit at 90˚ to the top and then swinging the dill to the approximate drilling angle. It helps to place the billet in the tail vise with the mortise being vertical. It is easier to approximate vertical then any other random angle. I don't try to actually apply any down pressure but just attempt to get the hole started in the right direction. You can see a "pilot" hole on the #4 plane below.


Once all of the holes are drilled then you are ready to remove the very little waste remaining. Before you start this next part it is a good idea to go back and carefully "redrill" the holes to pull any shavings out. Be careful since you can easily drill into the bed or breast. 

Now, Start at the top and just nibble your way down until you can't remove any more waste. Take little bites and clear every little nibble out so that it doesn't remain in the mortise. Hand pressure is all you need here.


Once you can't remove anymore waste then you are ready to mortise straight down the bed and breast angle. Again, take light blows and alternate from bed to breast until you are through. As long as you can get a float into the mortise and start clearing things out you are done. It is easy to get really stuck so do as little as is needed in this position.

By the way if you have never made a plane then the video from Old Street Tools is the one to get. It will make this post more understandable. Larry Williams and Lie-Nielsen did a fantastic job on explaining how to make a pair of hollow and round moulding planes. Get it if you don't have it.

The crucial tool to make this possible is the long thin drill bits. You will need to special order these very likely. I want to mention that Bill Anderson who teaches at The Woodwrights School emailed me a while back and turned me on to this source. Thanks Bill! 


Above is a photo of the list of drill bits I own from McMaster-Carr just for drilling these holes. I primarily use the smaller bits since those are the hardest to find that are long enough.

You will still need to grind these into a brad point bit. It isn't really hard but it is intimidating if you have never done it.  Peter Galbert taught me this method and he has two great posts on his blog from years ago on how to do it. Post #1 & #2. If I where you, I would practice on some used up bits you have lying around. Don't be intimidated. Give it a try and you will feel empowered and surprised at what a little know how can do for you. No need to buy those expensive HSS brad points when you can grind your own. 

After all is said and done I just like how so many people can have an effect on how we personally reach an efficient and accurate way to our work. 

Keep sharing!

Wednesday, May 28, 2014

How to Install A Handle In A Wooden Body Plane

Welcome back to the low budget video series all about wooden planemaking. You know the drill. I work in the shop and at random pull out my camera and shoot a short segment of what I am doing at that moment. Then you try and decipher what I showed and how to apply it. Your welcome.

Maybe someday I will get a proper camera and set aside two weeks to make and edit a complete series on how to make an entire plane like a rabbet or panel raiser or whatever. But until I do a Kickstarter or someone drops a paycheck in my lap for those two weeks this is probably about the best I can muster at the moment. I really do hope they are of some value. Anyhow, on to the handle instillation.


When making the mortise for the handle this is one of those places that I count on machine work to make a precision slot. I use my slot mortiser to make the slot and then I square up the corners with a corner chisel. I do this so that the joint makes the best glue up as possible. 

Also, I don't want just the sides of the handle to adhere to the mortise but the bottom of the handle should make contact in the mortise as well. Usually in a typical furniture joint this would be end grain and wouldn't need to be glued but in this case we can take full advantage of the long grain surfaces coming together. This adds nearly a third more glueing surface to the joint. 


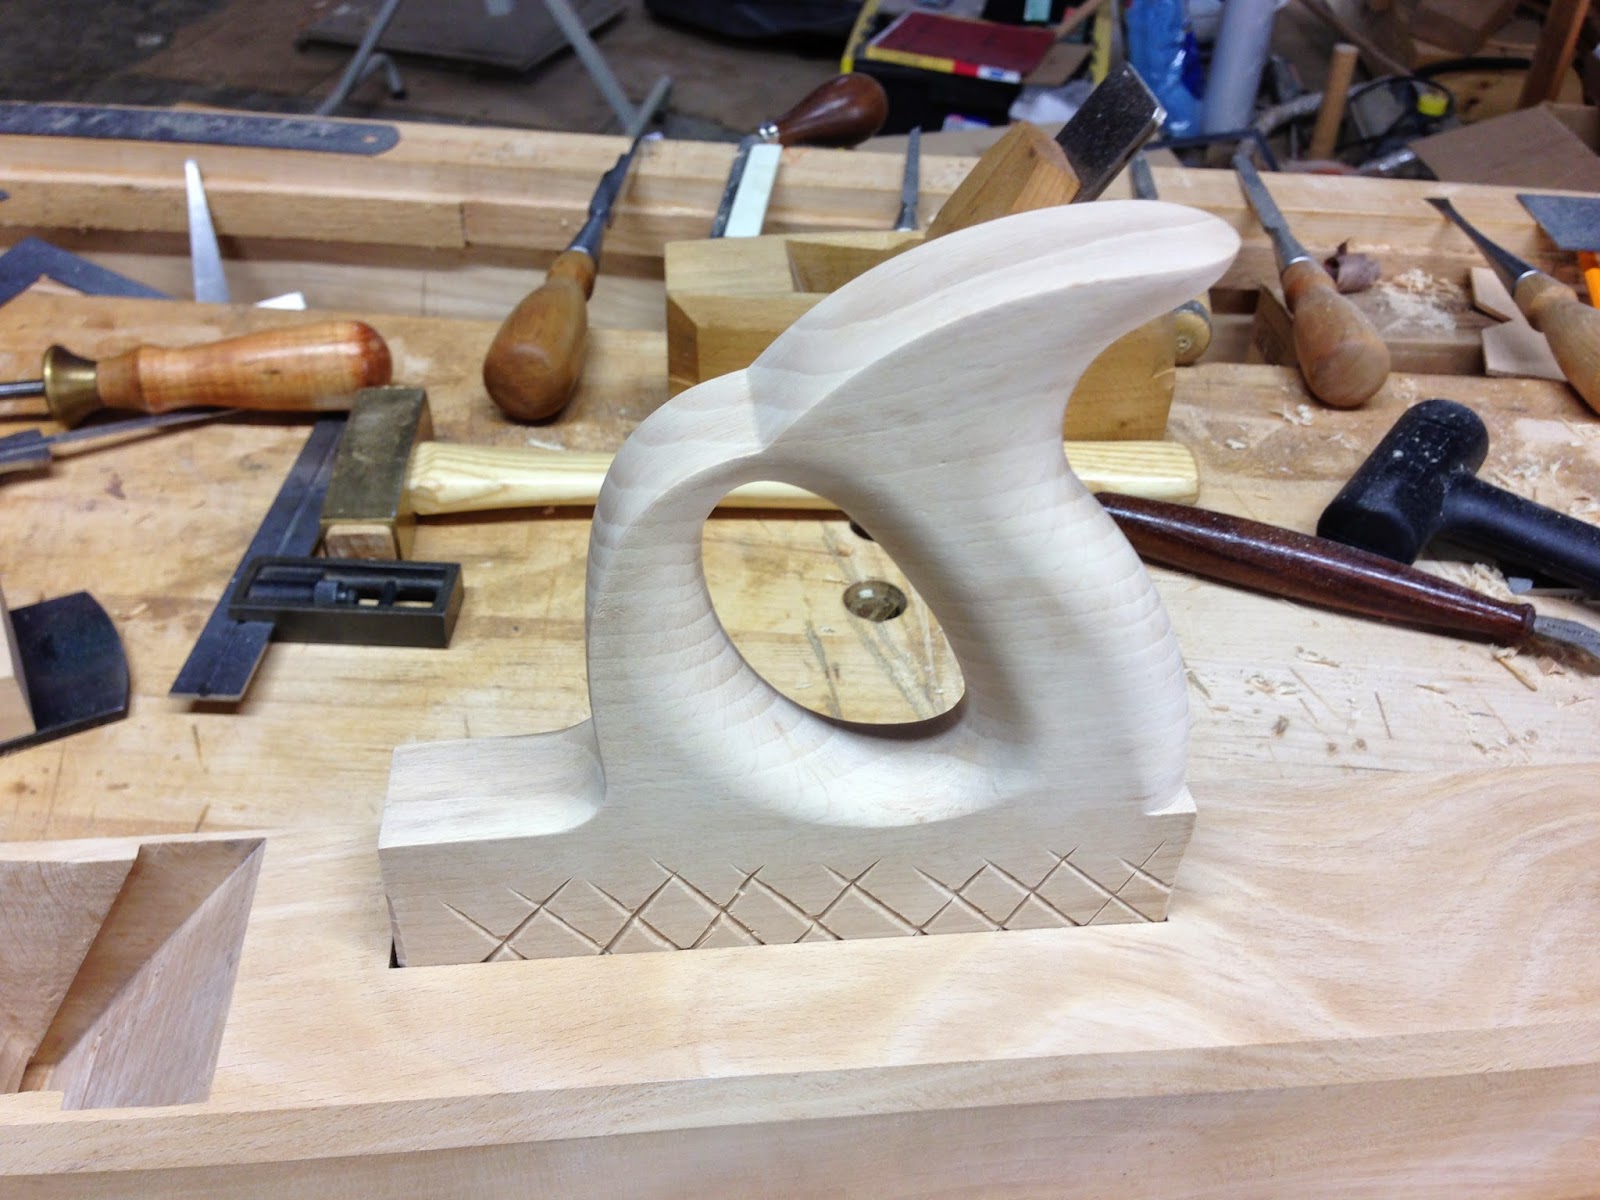
When fitting the handle make the mortise first. Then with the handle left slightly oversized you can plane it down to make a perfect fit to the joint. I make some criss cross cuts about two thirds of the way up around the bottom of the handle to let the surfaces stay tight but slip together. This also lets any heavy build up of glue have a place to escape to rather than resisting instillation of a really tight joint.

The gap at the front of the handle is filled with a wedge. I actually undercut the back of the mortise ever so slightly and match the back of the handle with the same angle. Therefore once the front of the handle is wedged in place it locks the handle in place. It is a little thing but I figure why not.


One of the things I have seen "messed up" on a number of planes is the instillation of the handle. Often times it is a lot to do with the orientation of the wood. It might seem wrong at first but note that the handle wood is oriented in exactly the same way as the body of the plane. Quarter sawn and grain running front to back not up and down. If you glue in a handle with the grain up and down, the cross grain orientation of the two pieces with break the glue line within a few moisture cycles for sure.

Other than the wood orientation you need a good tight fit between the glue surfaces. That is what I show in the video and you really must use hide glue. Liquid hide glue is fine. I prefer the Old Brown glue brand but will use the Titebond brand as well. The Old Brown brand is nice and stinky like the glue pot version. I actually love the smell but then again I am sort of weird like that. You'll still need to heat the liquid version though. I would have shown the glue up but I didn't have anyone to hold the camera.

Again, don't use the yellow glue (PVA). When the joints are really tight the glue grabs when you are putting the joints together and it is a real pain. I only use the stuff for edge gluing joints. This is just the chairmaker in me coming out. Us guys never use the PVA stuff unless we feel like crying. Use what you want, you've been warned.

Enjoy!

Friday, May 9, 2014

Plans For Wooden Planes Are Available Again!

I started getting plenty of emails a few days ago when Dropbox disabled all my links along with probably thousands of other Dropbox users. It appears they had a security issue.

Anyhow it took them several days to make it possible to reactivate the links. If you have been searching for the wooden plane plans I offer then here they are back up and running. The dropbox download pages look different but the plans are there.

3/4" Rabbit Plane 

7/8" Ogee Moulding Plane

15" Fore/Jack Plane

1/2" Side Round Plane Pair

Coffin Shaped Smoother

Enjoy!

Monday, April 28, 2014

Jumping On The Band Wagon!

Well if its trendy then I am doing it. Ok thats how I feel after buying a polissoir. Heres the story. Last month I ran into "Je m'appelle Christoph" Schwarz at the Lie-Nielsen Hand Tool event in Charleston. When it got slow Chris started handing out half made squares for everyone (including customers that were hanging around for hours) to finish making and take home.

It was kinda funny. A customer would pop in and there we all were, head down, completely focused on this rather than them. They seemed confused but interested in what kind of class we all were apparently taking. Questions followed such as; what are you making, what kind of wood is that? About that time we would snap out of it and go back to demonstrating whatever it was we were supposed to be doing.

Anyhow we were all finishing the squares with the polissoir. I was pretty impressed. Then when I got home I realized this would work really well on my planes. Wishing I had actually tried it out on a plane while at the show I decided anyways to buy one. What really motivated me was that Don Williams started offering one that would accommodate carved/shaped surfaces. I was sold.

Here is what the carver's polissoir looks like. One end is for complex surfaces and the other I use just like the standard one. It is sort of a two in one, though it doesn't appear to have been intended for that purpose, but why not?

Carver's Polissoir

This is what it looks like when it arrives. You have to soak the ends in some melted beeswax then once it dries it is ready to go. That is a one time process as far as I understand. The wax acts more like a lubricant rather than being meant as the applied finish. However I am sure it is getting rubbed into the surface to some extent.

Here is what the finished burnished surface looks like on the planes. By the way the finish I use on the planes is heated linseed/Danish oil.


I am pretty stoked about the results. My favorite thing about the finish is that it is so much more durable. I always kinda worry about leaving grim from my hands on the grips of the planes while I am tuning everything up just before they go out the door. But the polissoir burnishes the surface so hard that there seems to be no open wood pores to get grimy.

Here is a link to make one if you want to try it out or see the ones from Don's Barn.

I am going to give this a try out on a piece of Danish furniture soon. I can't wait to see how it works there.  

Additional Thoughts:  I often mention products or links to things or other folks. I do this not to promote anyone for any particular reason. First off I like to point out other good stuff that is going on out there besides just what I am doing. I think good stuff should get noticed. It benefits us all. 

I also like when someone is making a product that is useful and it employees an individual craftsman. For instance Don's polissoir is made by a broom maker not far from him. That was motivation for me to by one rather than make one. 

Thats it. I just don't want my posts to come across like I am selling something. My intent here has always been to just share good useful information to those that want to know more about woodworking crafts. 

Take care!

Thursday, April 10, 2014

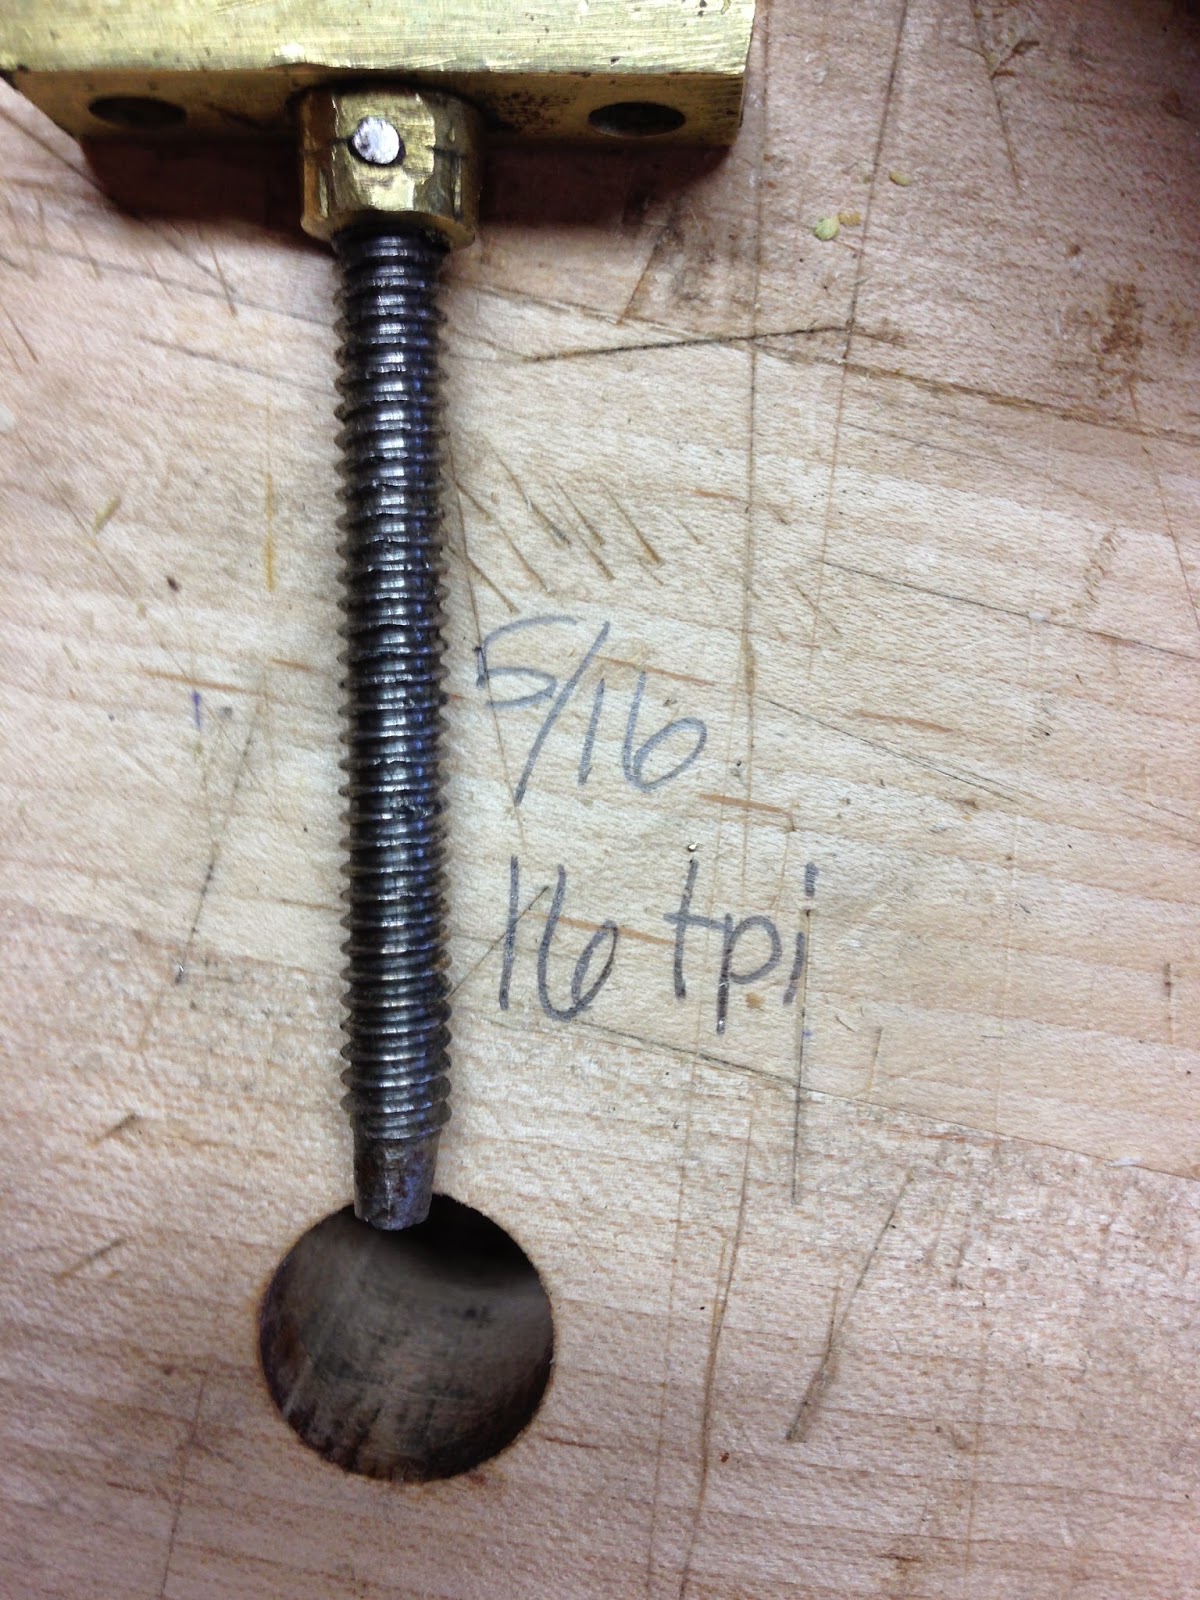
Moving Fillister Plane - Depth Stop Hardware Revealed

I have wondered for some time exactly how this hardware looked like on the inside. I have focused so much on planes that don't require hardware like this that I never really dug into those that do.

If you are like me, then you may have thought about replicating the parts on your own. I sometimes wish I had a milling machine but then again I would just get myself into trouble making parts that just aren't profitable. I think these might fall into that category but maybe not. On the other hand I wouldn't hesitate to try and make them if this where only a hobby for me.

So thats what motivated me to take the time to share these photos. Maybe you just might want to make some for yourself. It is mostly brass and a few other materials that are readily available. The photos should be self explanatory. Click on the images to enlarge.

Enjoy!


If any machinist out there is making these or you all hear of some place that is producing them let me know.

Thanks!