Showing posts with label wooden planes. Show all posts

Monday, June 15, 2015

The Evolution of the Panel Raising Plane, à la Caleb James


I have been enamored by the panel raising plane ever since I watched Roy Underhill use one in The Woodwright's Shop episode entitled Raising Panel-Zona. I saw that plane and decided I had to make one. So I did. If you were a reader back in October 2013, you may remember the post in which I talked about that first one I made. Ironically, Bill Anderson came out with an article on making a raised panel plane in Popular Woodworking magazine about 3 days later. Bill is a great resource for restoring vintage planes.


The version I made turned out pretty well, but the profile was based on what you would see on a router bit common today. As it turns out, modern router bits don't really reflect the profiles found on antique furniture. This is no surprise, really, seeing as modern day bits are made for architectural work like kitchen cabinets, shutters, full size doors or the like. The scale is a bit large. I could tell  something wasn't quite right about it for furniture, and so the plane never went to production. I had to get the profile proportions just right first.


About a year later I visited Winterthur and was able to look at a couple of pieces there. I could see that the scale was, in fact, smaller on those planes and it helped me nail down the proportions that look correct for a furniture piece.


About 6 months later I ran into Roy Underhill at a Lie-Nielsen hand tool event where I was demonstrating some of my planes. I showed Roy the updated panel raiser that he inspired me to make and, the next day, he brought the actual ones from the show. It was a real treat! The proportions and skew from the two planes he brought were different, but not completely. Interestingly, my plane's profile and skew proportions were nearly an average of the two. Needless to say, I felt I was on the right track after that.

But, I wanted to take it a step further. Why not make it even more authentic with a blacksmith-forged, laminated iron? I think most would agree that there are few people who know how that iron should be made better than Peter Ross. He did, after all, study the tool chest of Benjamin Seaton 1797 and all the iron work in it. Here is an iron that he made for me. It is just wonderful.

Unfinished Blacksmith Forged Laminated Iron (left) O1 Tool Steel Iron (right)
This plane has been a long time coming. So, I'll be talking more about this panel raising plane in posts to come and will eventually take pre-orders on them, as well. In the meantime, you can see a little clip of the plane in action in this Instagram post. I'll put up the full video soon.

Monday, December 1, 2014

Square Ovolo - Essentials of a Cabinetmakers Tool Kit

When it comes to choosing the right moulding plane profiles for a basic tool kit it can seem confusing, especially for someone new to using them. There are the traditional hollows and rounds that everyone seems to talk about. However, where to start with those can be even more overwhelming for the novice. I don't blame anyone for thinking that maybe they shouldn't even start down this path at all.

However, the good news is that, with a few dedicated profile moulding planes, you can cut most all of the mouldings that are used day in and day out in the shop. These planes are also nice, in that they have an integral fence and depth stop, unlike hollows and rounds, so their use is very straight forward. 

Beading planes are the first place to start. They were, no question, the most commonly made dedicated profile plane. Once your tool chest had a few of those in it, the next would likely be an ovolo, closely followed by an ogee. The shape of the profile might vary somewhat, depending on the time period of the tool, but you could never go wrong with a square ovolo.

With that in mind, I will be offering square ovolos in both the 1/4" and 3/8" sizes soon. If I had to choose only one it would probably be the 1/4" since it is surprising where you will find a use for it.


So where would you likely use an ovolo? One of the most common uses for any ovolo would be on the plinth or base of a piece of case work. The photo below is an example of an ovolo profile on a six board chest. It is approximately 1/4" in size. How do I know? Well, I actually had the chance to study the very Mathieson plane that made this profile. Chris Schwarz offered to lend it to me for part of my research in making planes appropriate to cabinetmaking. Interestingly the plane was stamped 3/8" on the heel but it was so worn down from years of use that it measured about 1/4" square.

Six board chest

Close up of C. Schwarz ovolo plane profile from six board chest

I look forward to offering these planes very soon. I will provide details regarding pre-orders on these planes in a forthcoming post. Thanks for your patience!

P.S. For you planemakers out there, I do plan to share the details of Chris's Mathieson plane so, if you'd like, you can make one for yourself. It might take me a while to get the information compiled in a blog post, so please be patient with me. 


Thursday, May 29, 2014

Why Use A Wooden Rabbet Plane & How To Guide Them By Hand

Rabbet planes so quickly get overlooked when it comes to making moulding. It is kinda crazy really. Because once you get into making moulding by hand you realize the rabbet plane is used for probably 90% of the cuts. Yeah no kidding.

We like to dream about all those shapely hollows & rounds and forget that they just do the final few passes and make all the hard work of the rabbet look pretty. I guess it is like how Stevie Ray Vaughan plays such awesome riffs you forget about Double Trouble. They are ONLY THE REST OF THE BAND! Its too easy to forget that without those really fat bass lines and super tight drum lines that Stevie would sound pretty lonely.

But seriously, the rabbet plane is not just an old version of a metal shoulder plane. Though it looks like its primitive cousin its function is for a totally different purpose all together. Shoulder planes are designed to remove relatively small amounts of end grain material. That is why it has a low angle of attack, around 38˚.

On the other hand rabbet planes are bedded like a typical bench plane with the  intent of removing large amounts of face grain material and quickly. No playing around here. Try and do that with a heavily set shoulder plane and it will just jam full of shavings in a hurry and feel pretty weak while doing it.

So here to remind you of the power of the rabbet plane I present two more sad low-budget videos. I know, what a let down. You might find the second video more useful though. It demonstrates how to start and guide a rabbet plane by hand (sans fence).

As always Enjoy!


Wednesday, May 28, 2014

How to Install A Handle In A Wooden Body Plane

Welcome back to the low budget video series all about wooden planemaking. You know the drill. I work in the shop and at random pull out my camera and shoot a short segment of what I am doing at that moment. Then you try and decipher what I showed and how to apply it. Your welcome.

Maybe someday I will get a proper camera and set aside two weeks to make and edit a complete series on how to make an entire plane like a rabbet or panel raiser or whatever. But until I do a Kickstarter or someone drops a paycheck in my lap for those two weeks this is probably about the best I can muster at the moment. I really do hope they are of some value. Anyhow, on to the handle instillation.


When making the mortise for the handle this is one of those places that I count on machine work to make a precision slot. I use my slot mortiser to make the slot and then I square up the corners with a corner chisel. I do this so that the joint makes the best glue up as possible. 

Also, I don't want just the sides of the handle to adhere to the mortise but the bottom of the handle should make contact in the mortise as well. Usually in a typical furniture joint this would be end grain and wouldn't need to be glued but in this case we can take full advantage of the long grain surfaces coming together. This adds nearly a third more glueing surface to the joint. 


When fitting the handle make the mortise first. Then with the handle left slightly oversized you can plane it down to make a perfect fit to the joint. I make some criss cross cuts about two thirds of the way up around the bottom of the handle to let the surfaces stay tight but slip together. This also lets any heavy build up of glue have a place to escape to rather than resisting instillation of a really tight joint.

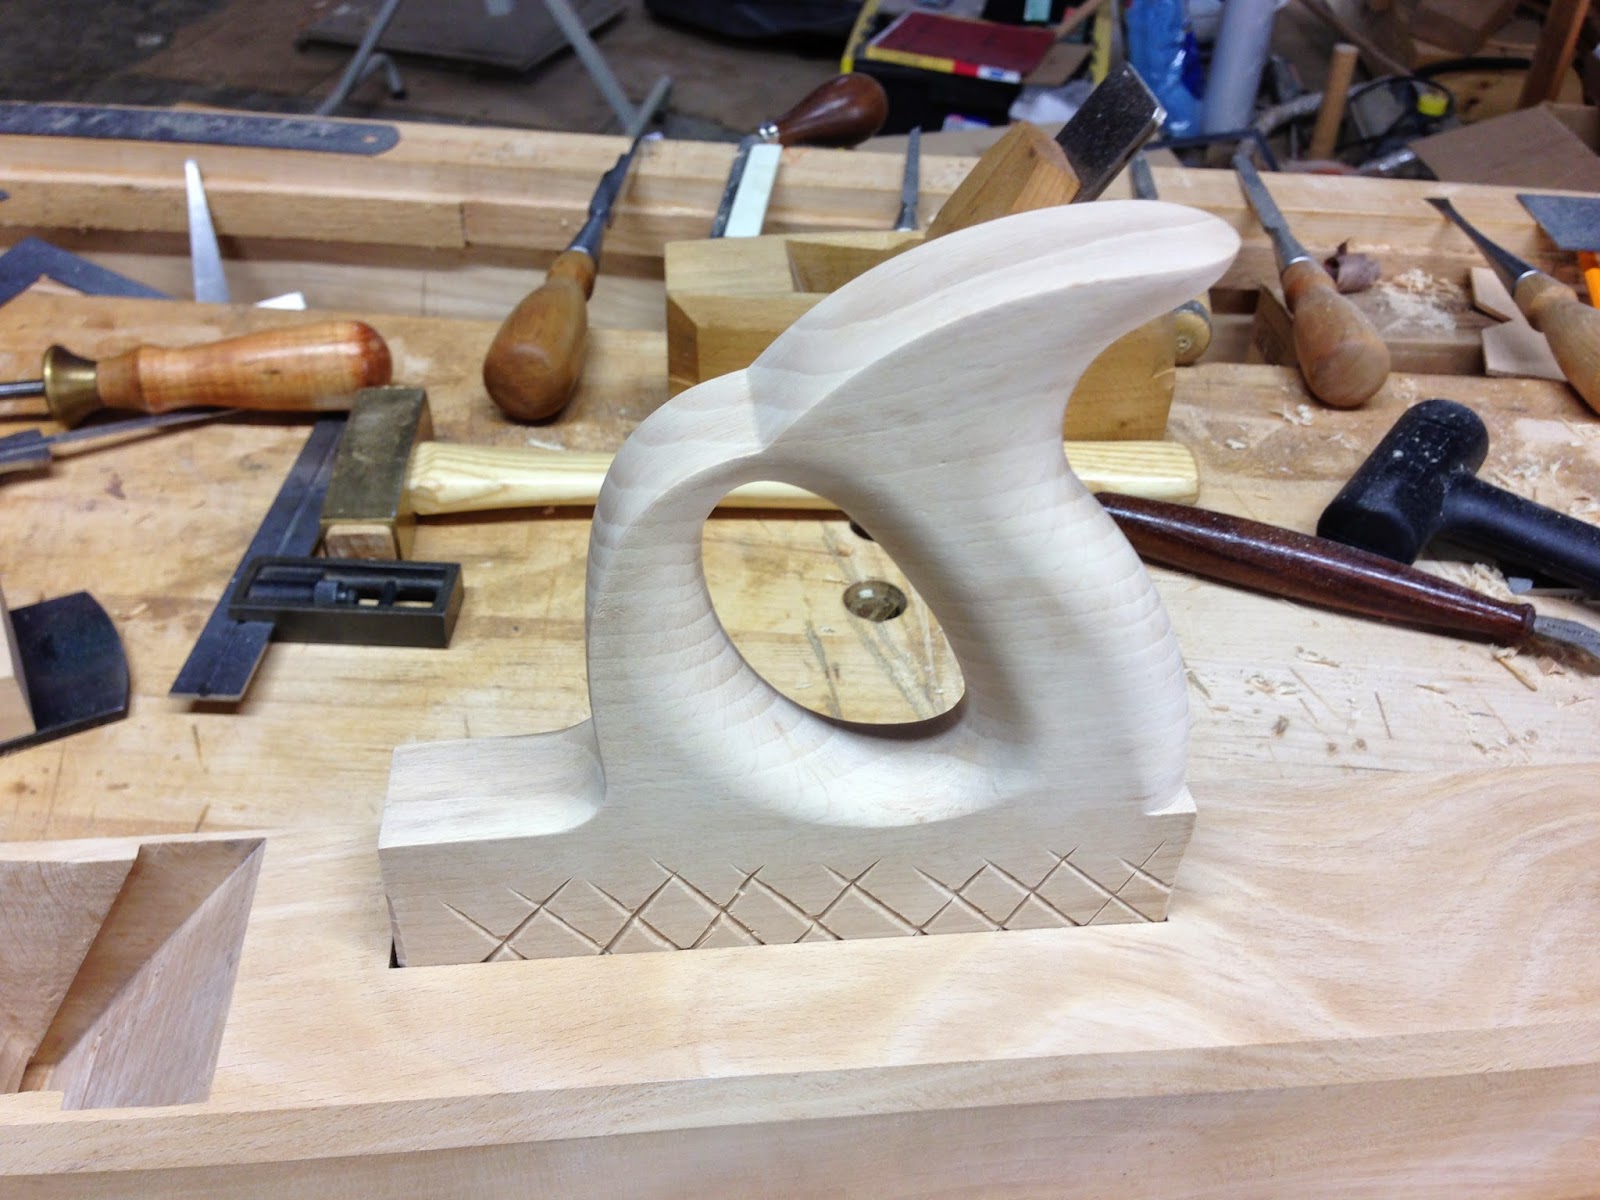
The gap at the front of the handle is filled with a wedge. I actually undercut the back of the mortise ever so slightly and match the back of the handle with the same angle. Therefore once the front of the handle is wedged in place it locks the handle in place. It is a little thing but I figure why not.


One of the things I have seen "messed up" on a number of planes is the instillation of the handle. Often times it is a lot to do with the orientation of the wood. It might seem wrong at first but note that the handle wood is oriented in exactly the same way as the body of the plane. Quarter sawn and grain running front to back not up and down. If you glue in a handle with the grain up and down, the cross grain orientation of the two pieces with break the glue line within a few moisture cycles for sure.

Other than the wood orientation you need a good tight fit between the glue surfaces. That is what I show in the video and you really must use hide glue. Liquid hide glue is fine. I prefer the Old Brown glue brand but will use the Titebond brand as well. The Old Brown brand is nice and stinky like the glue pot version. I actually love the smell but then again I am sort of weird like that. You'll still need to heat the liquid version though. I would have shown the glue up but I didn't have anyone to hold the camera.

Again, don't use the yellow glue (PVA). When the joints are really tight the glue grabs when you are putting the joints together and it is a real pain. I only use the stuff for edge gluing joints. This is just the chairmaker in me coming out. Us guys never use the PVA stuff unless we feel like crying. Use what you want, you've been warned.

Enjoy!


Friday, May 9, 2014

Plans For Wooden Planes Are Available Again!

I started getting plenty of emails a few days ago when Dropbox disabled all my links along with probably thousands of other Dropbox users. It appears they had a security issue.

Anyhow it took them several days to make it possible to reactivate the links. If you have been searching for the wooden plane plans I offer then here they are back up and running. The dropbox download pages look different but the plans are there.

3/4" Rabbit Plane 

7/8" Ogee Moulding Plane

15" Fore/Jack Plane

1/2" Side Round Plane Pair

Coffin Shaped Smoother

Enjoy!

Monday, April 14, 2014

Construction Of a Sash Window Frame From Raw Wood- Video

I stumbled upon this video not too long ago. I really enjoyed it and decided that you folks might like it too.

The video shows a window frame being made with all the basic steps in just a few minutes of video. It makes me want to make some windows especially after picking up the book on Doormaking and Window-making that LAP recently put out. Fascinating to see the difference between factory made vs. craftsman made.

I would like to find one of those coping planes that is used in this video. Would be a good one to study.

I should mention that the video is curtesy of the Arnold Zlotoff Tool Museum. The joiner in the video is Ted Ingraham. I would like to make it up to the place someday. Would be quite interesting I am sure.

Enjoy!


Sunday, April 13, 2014

New Smaller Smoother In Action

If you subscribe to my Youtube channel then this is old news but if you don't then I wanted to show a little video of a new smaller version of my favorite smoother in action. This little guy is so much fun.

It is about 5/16" shorter than the standard size with a 1-1/2" blade and 5-13/16" long. Oh and the iron is bedded at 57.5˚.

My thinking behind the design was to have something that excelled at clean up in an area that had lots of reversing grain which limited different directions of attack you could take. Those big planes are frustrating in these situations. Heck a No.4 is way too big much less a No. 4 1/2.

I frankly was inspired by those really amazing infill planes that Sauer & Steiner make and of course Raney's (Daed Toolworks) infills as well. Maybe that's why I decided to make it out of solid persimmon. Get some all ebony going on.

Enjoy!


Thursday, April 10, 2014

Moving Fillister Plane - Depth Stop Hardware Revealed

I have wondered for some time exactly how this hardware looked like on the inside. I have focused so much on planes that don't require hardware like this that I never really dug into those that do.

If you are like me, then you may have thought about replicating the parts on your own. I sometimes wish I had a milling machine but then again I would just get myself into trouble making parts that just aren't profitable. I think these might fall into that category but maybe not. On the other hand I wouldn't hesitate to try and make them if this where only a hobby for me.

So thats what motivated me to take the time to share these photos. Maybe you just might want to make some for yourself. It is mostly brass and a few other materials that are readily available. The photos should be self explanatory. Click on the images to enlarge.

Enjoy!


If any machinist out there is making these or you all hear of some place that is producing them let me know.

Thanks!

Tuesday, March 25, 2014

Keep That Mouth Shut

UPDATE: Make sure and read the comments. Kees and I have an interchange on the subject of high bed angles and chip breakers. We discuss there effect on mouth openings. Good stuff. I will let you make up your mind what matters most. Original post follows.

Last year some time I posted plans for a coffin shaped smoothing plane. Of course, to be made out of wood. I asked anyone to point out any errors in the plans. I got some feedback but no one seemed to question the reference to the mouth opening being 1/32". That is quite large actually. It is about double what I would consider as a size to shoot for.

So what is the size I shoot for. I aim for as tight as possible. That means about 0.006"-0.008 is excellent but I am happy with anything up to around 0.012". Now, that is for planes I sell. As for planes that I use, I have some with mouths much larger than that.

Here are a couple of photos of examples of mouth opening on my planes. The first is a smoother at about 0.004" and the second is a miter plane at around 0.010". Click to zoom in.


Of course we are talking about smoothing planes. For jack planes I don't get bent out of shape on the mouth size. About a 0.030 is fine with me or around a 1/32". That is how I think that I ended up with that measurement in the plans. I should be more careful when I copy and paste.

So essentially if you make a smoothing plane with a mouth opening of about 1/64" (0.015") then pat yourself on the back. You did an outstanding job. If you can get it to half of that, then you are ready for a new profession. :)

Tuesday, March 18, 2014

Why Use Quarter Sawn Wood For Wooden Planes?

This is a good question. I have seen this over looked a lot of times when seeing examples of planes made online. Why isn't obvious really.


I am going to assume that you know little about quarter sawn and plain sawn lumber other than you know how it looks to the eye. I think that is where we all started in woodworking. We understood that a lot of older furniture had quarter sawn lumber in it but the only thing we saw was that it looked different. We didn't realize until later that it not only looked different but it acted differently as well.

Probably oak is the wood that comes to mind when we think of quarter sawn. It is no surprise because basically all use of oak originally was "quarter sawn". I put that in quotation marks because it wasn't sawn at all. It would have been riven not sawn. Anyways I digress. If you want to know more about how oak built the world civilizations I recommend you read the book "Oak The Frame Of Civilization" by William Bryant Logan.

But traditional planes are made of beech almost exclusively. I get a few eye brows raised at me when I tell people that beech is related to oak. In fact oaks are in the family of the beeches (Fagaceae). They share many qualities. One important one is that they both have distinct rays.


I think it is important to understand what ray fibers are in order to really grasp how they affect wood movement, especially in quarter sawn wood. Rays are the fibers in the tree that run perpendicular to the long grain fiber that run the length of the tree. In other words the ray fibers run from the inside to the outside of the tree while the long grain fibers run from top to bottom. Rays actually work to move moisture and nutrients throughout the tree in times of drought, etc. Ray fibers are not common in tropical woods, by the way.

So what do these rays do in wood. Essentially they reduce wood movement during moisture cycling. That is why most hardwoods essentially have a 2:1 ratio of tangential shrinkage to radial shrinkage. So that means that the radial plane of wood moves less compared to the tangential, about half. Just think of it this way. The annual rings are the tangential plane while the rays are the radial plane.

So we can think of rays creating a lattice work when they cross the long grain fibers. In fact the rays are essentially long grain fibers as well. And we know that a piece of wood along its length (long grain) basically doesn't change in length. That is why rays reduce wood movement in that plane. Therefore a piece of wood that is quarter sawn is more stable across its width. That is why you choose quarter sawn boards for the frame of a door and it is the same reason you choose quarter sawn wood for picture frame mitered corners. I have drawn an illustration to show this latter example. This also illustrates why a wedge in a plane benefits from being in the quarter sawn plane.


As you can see in the upper right corner of the illustration the picture frame miter when plain sawn will open up at the corners when the moisture cycles up and down but the quarter sawn miter will move half as much and appear to stay "closed" in relation to the plain sawn miter.

Now consider how the wedge of a plane is a triangle corner like in a miter, so is the wedge mortise in the plane body. If these are in the quarter sawn orientation then the fit will stay more stable during moisture cycling throughout the seasons.

Next post I will talk about why quarter sawn beech is the wood of choice for wooden planes and why a wood like oak is not, even though they have similar properties like distinct rays and hardness. When I do that I will work from the same illustration and the rest of it will make sense.

:)

Monday, March 17, 2014

How to Cut Complex & Ogee Moulding Plane Blade Profiles

Lately I have been doing a bit more custom/complex profiles for moulding planes. I thought I would show you a bit of how I go about doing it. I don't know how the artisans of old did this. It would be interesting to see what they did. Did they cut the profile, grind it, or something else I am not thinking of. I don't guess it matters. I am not constrained by there technology and I am sure if they lived now they wouldn't constrain themselves either for any nostalgic reason. They would probably be excited to see our tooling and put it to use.

Once you have made your complex profile moulding plane with the profile cut in the sole and everything otherwise complete and fitted take your blade and coat it with machinist fluid on the top front edge of the blade, let it dry (duh!). Insert the blade in the plane. Set the wedge, then scribe the profile of the sole onto the blade. Try to do this in one pass, otherwise the scribe line gets harder to clearly see. A single fine line is much easier to track even if it isn't perfect.

Here is what I currently do to cut the profile. I know it will change some as I like to refine and tinker with my methods. I think it is what keeps me interested in the craft. Below is my setup. You need a good light for this kind of work...Oh and coffee too. :)


This is a basic jewelers saw that has a 3" capacity. It uses 5" pin less blades. Runs about $40. I cut the profile out of a blank prior to hardening. This is pretty thick material for these little saws. I first used one when I was bout 13 years old. My uncle ran a little shop that sold coins with parts cut out as jewelry and the like. It hit me one day that this would work wonders for cutting complex profiles and it does.


On a Lie-Nielsen tapered moulding plane blade the sides are "hardened" in the production process and so the jewelers saw blades won't cut them. Fortunately this is not a problem since a touch of the grinder creates a nice notch to start the blade in anyways and removes the "hardened" metal.


Now just slow and steady wins the race. The trick to getting these to cut well is to keep the blade from overheating. If it overheats then, like any other cutting tool you are used to, it will not hold an edge. Thus I use a little bit of beeswax on the back of the blade. Yes, I said the back of the blade. If you put it on the front it will clog the relief area behind the tooth and it won't cut. 


Once I do this I move onto the grinder to shape the bevel. I have a grinding wheel dressed to sort of a "V" point that is slightly rounded so I can work the hollow of the profile. Work right up to the edge but not past it. It is better to have a small area you need to remove after you harden then to have to re-profile the edge back once you harden it. 

By the way the picture is of the bevel side of the blade after hardening and tempering. As you can see all that I had to do to get it sharp was to work just the edge with some slip stones. I have seen many people describe leaving a thick edge on the blade while heat treating or otherwise the edge is weak. I have never had this problem. I think they are not heat treating properly. Very likely overheating the edge and creating poor "grain" structure in the metal which makes it weak. Anyways that is for another post. 

Dig deep. Make a complex profile moulding plane. You can do it! 

If you haven't seen it then check out my plans for an ogee moulding plane here.


Monday, February 10, 2014

German Style Horned Smoother - In The Works

Not too long ago I had the pleasure of talking with Jeff Neil. He is a couple hour drive from me up in the Tennessee mountains. He coordinates speakers for a guild up his way. During our conversing he shared a bit of his passion about wooden planes.

He had written back in 07' an article for the Chronicle magazine, published by the Early American Industries Association in regard to the tool chest of John E. Kraus. This is a tool chess that he acquired. The chest dates form the 1870's and some of the tools may have come over from Europe, from which he immigrated, such as two horned planes.


So, a few months later after reading the article I couldn't seem to get these cool German style horned smoothing planes, that were in the collection, out of my head. Jeff was kind enough to take in depth photos and measurements of one of the planes so that I could copy it. Or at least have a working base to begin with. One of the two that he has appears to be a scrub type version. I am going to begin with the smoother though.

Here are a couple of photos that Jeff shared with me. If you can find the article online it is worth a read. I don't know if the one article is available anywhere but the entire 60 volumes of the magazine from the 1930's on is available for $15 here. If you like history of early American tools it is a very nice read.


I will show some of the progress and if I can get myself around to do it maybe some plans as well once I get the design down.


Monday, January 20, 2014

What Planemaker Floats Do You Need For Making Wooden Moulding And Bench Planes?

Here's a question that comes up often. I think the question is which ones don't I need. Let me just show you which ones I think are pretty much necessary to make these planes. These don't cover skewed planes. That is a whole other monster.

I'll start with the moulding plane floats.


The two floats on the bottom are the side and then the edge float is the next up. You can't expect to make a proper wedge mortise without these two. I like the pull side float because I can go right up to the mouth and then work a slight hollow back from there without worrying about damaging the mouth trying to push up to it.

The two top ones are essentially a push cheek float and a custom modified push float. You don't need to modify one but the top one was my first float which was a large cheek float and I just customized it while experimenting and there it is now. It sort of falls between the function of a push side float and a small push cheek float. 

Anyways what you need them for is first off the small pull float is needed to bed the iron. That is, to smooth out the bed so that the iron fits firmly exactly where you want pressure exerted when wedged. Basically you are knocking down any high spots. Second the push float is needed to create the wear angle and size the mouth opening. A small push cheek float would work fine in place of my custom thingy. It needs to be a push float because you will break out the mouth if it where a pull. That would be a disaster for the function of your plane.

Now on to the bare essentials for the bench planes.


Starting at the bottom we have the bed float the edge float and yes my custom push float thingy. Again just substitute the small push cheek float. 

The bed float is of course for the blade bed and it is a push since you are working from the top unlike the moulding plane bed float (small pull cheek float) which is worked from the bottom of the plane. 

The edge float is so useful in making the openings in just about everywhere in the bench plane. Think of it as a saw that opens the mouth as well as cuts in to create the areas for the abutments to recess into body for the wedge mortise. No need to have a special saw for this as I have seen some suggest. And of course the edge float is used to make and adjust the angle of the abutments themselves. 

The push float is used to create the wear angle and does a lot of clean up work on the cheeks and some hollowing work in the wedge cheek areas.

Here are the chisels that I think are a must.


These are used everywhere on both planes. If you wanted to you could do without the largest carving gouge.

The 1/10 mortise chisel is first on the mush have list since it is critical to getting into places that many other things simply won't go. The edge float can be made to do a lot of the work this thing takes care of but I would hate to be without it.

The chisels are essentially a 3/4" for all the chamfers and general work. Then a 1/2" or better yet a 3/8" works well for everything else. 

The gouges are used for shaping things. The rounded end on the plane are made with the large gouge, it could also be done with the 3/4" chisel if you don't mind the faceted look. 

The small #5 sweep is for the gouge cuts at the end of the vertical chamfers if you want the detail of the mid-atlantic planes from the 18th-19th century. This is the style you see on Old street tools planes and Matt Bickford. I like this style the best as well. I guess is suits our modern tastes. They tend to fell more Roman in form rather then Grecian. These details tend to be more early rather than later in platemaking history as well. I know more about planemaking than there history so I will stop here. 

One final note on floats. Don't expect the floats to function at any decent level the way they come from Lie-Nielsen. That isn't a dig. It just means you really need to sharpen them with a triangle file for them to work well. They basically sharpen like a saw be even easier. You just need to pay more attention to keeping the file cuts nice and consistent all the way across the teeth and you will be set... err well, sharp that is... no set needed.

Hope this is helpful!


Friday, December 13, 2013

Tapered Bench Plane Blades Production Progress

So I have the blades back after machining and they look great. I just need to get these heat treated now. The larger ones are a bit too big to heat treat like I currently do my moulding plane blades which I do myself in-house. I want these to be heat treated without having to do a lot of flattening afterwards. 

I have a stamp designed for marking the blades. That will take some time to get but look forward to having that to complete the look. 

I stuck a blade in my trusty smoother that never leaves my bench top just to see how it will look. It looks great to me. What do you think?

Smoother with new blade

I am busy working away trying to get other things lined up for the Hand Tool Event in Charleston with Lie-Nielsen on March 28-29th. Also my website has been down for about a year now as I rework it. It is time to get that finished and back up and running. 

This computer keeps demanding my attention when all I want to do is be working in the shop. Back to normal soon enough.