
Showing posts with label seat. Show all posts
Showing posts with label seat. Show all posts
Monday, July 6, 2015
How to Carve a Windsor Chair Seat with an Inshave or Scorp
Here is the next step to the process of shaping and carving a windsor chair seat. This follows up the adze work in the last video I posted. This was taken while Peter Galbert was teaching how to make the chairs from his book at my shop a few months back. Peter here makes the process look easy as always. This is a watch and learn kinda video. Not too long but you get the gist. I hope you enjoy it!


Thursday, May 30, 2013
Comb Back Arm Chair Seat Carving Photo Series
That title is a mouthful. It is that simple. I have been saving up gobs of photos from shop projects. It seems I am really good at taking photos but very poor at blogging them. Maybe, I should be on Instagram instead. Nay... I like to ramble.
Anyhow, these are a series of photos I took in Curtis Buchanan's shop while I did my research on the drawings for his chair plans I drew. I think the photos are pretty self explanatory so I won't go into detail to much. Others that are better at explaining it than me have already done so but I find that lots of pictures really help in seeing all the angles. Hope you like these.


Anyhow, these are a series of photos I took in Curtis Buchanan's shop while I did my research on the drawings for his chair plans I drew. I think the photos are pretty self explanatory so I won't go into detail to much. Others that are better at explaining it than me have already done so but I find that lots of pictures really help in seeing all the angles. Hope you like these.

Lay out the pattern, drill leg holes, arm support, center spindle and a few practice holes on the edge. (Was a different bit than I was familiar with :) )

Fit legs.

Adze work and carve gutter.

Bandsaw front profile and Inshave work.

Layout outside edge of seat.

Front view of layout.

Remove bulk with drawknife @ front vise. Use a wide one so your handles have more clearance for those slicing/skewed cuts.
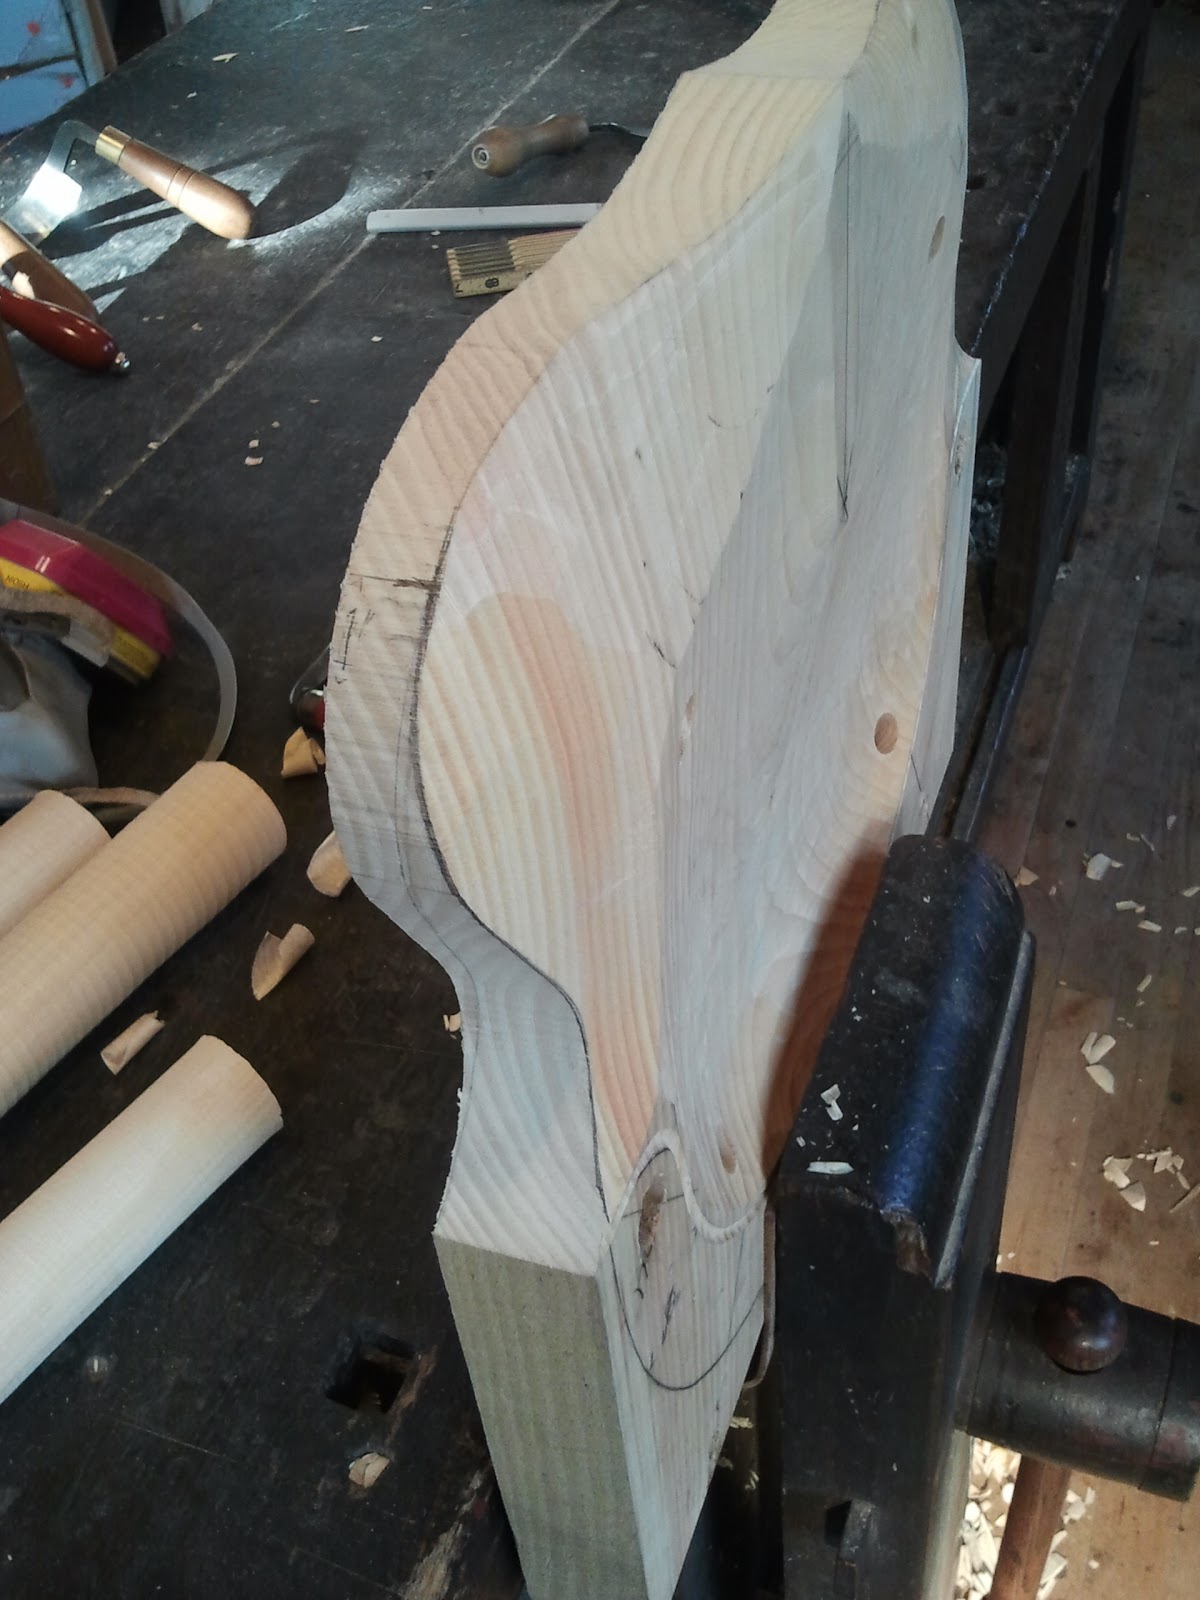
Some more angles.


Refine with travisher. Use inshave to work concave area near gutter at arm post. Also some initial spoke shave work

Block plane down from front of pommel towards depth of seat. Redraw center line for reference.

Refine pommel with travisher and spoke shave seat front.

Two more views.


Layout seat bottom.

Drawknife front bottom edge and follow with spoke shave. Give it a slight convexed edge about the last 1/2 inch back.

Layout seat side and drawknife only. Ok you can use a spokeshave or other if you must. I won't judge. :)

Sorry I don't have step by step photos of this part. I don't like to stop when I get going. Lots of focus to do this right with the drawknife only. Lots of skewed slicing cuts here. Have a very sharp knife. If you have two drawknives you might leave one shaped and sharpened for just this task.

Shape back edge in two steps (refer to layout photo above) with drawknife and follow with spoke shave to blend.
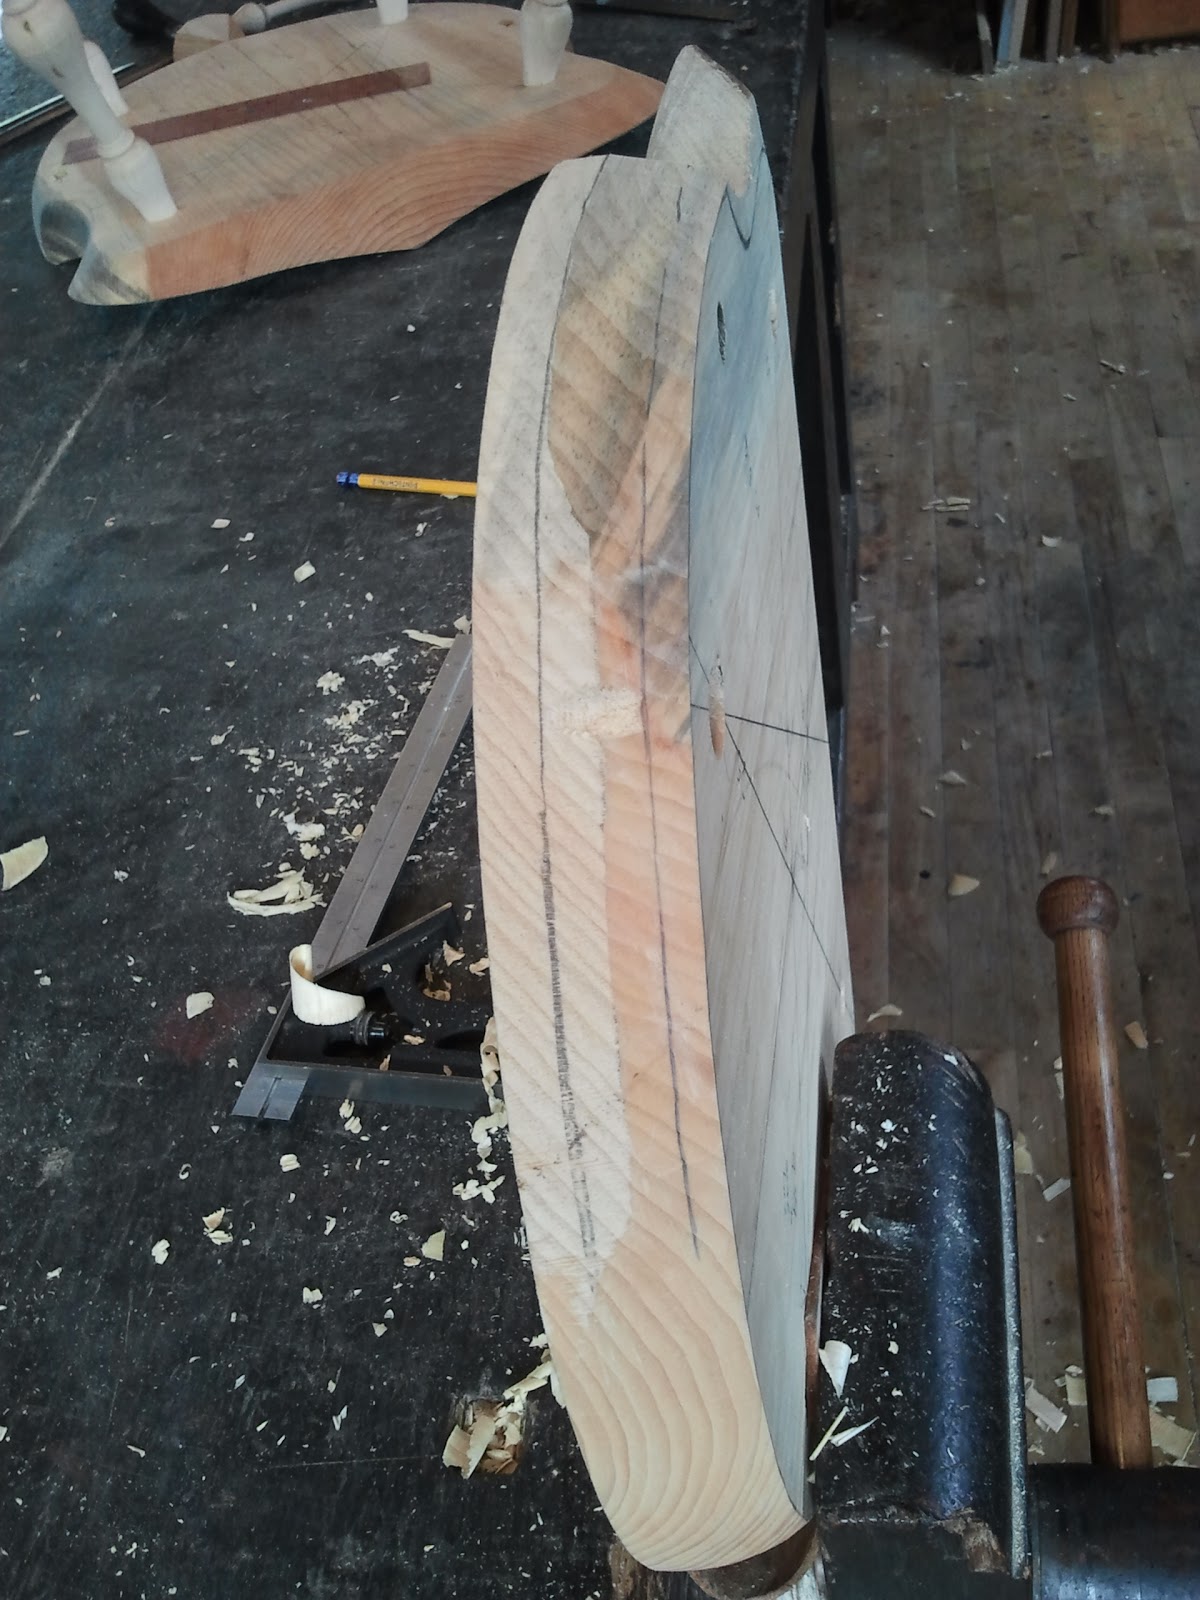
Another view. Don't forget to chamfer the back top edge of the seat with drawknife. I forgot to take a photo.

Bottom view complete.

Another view.

Finish up top of seat only with scrapers followed by 180 grit paper. Raise grain and lightly sand with 220. Now leg it up!
Hope that was informative. By the way this is in eastern white pine from one solid board. That makes it so much easier to shape.
Thursday, November 29, 2012
How to Weave A Danish Paper Cord Seat - Series
So I have been wanting to post a series on how to weave a Hans Wegner style Danish paper cord seat for a few years. I finally have gotten around to it. I just finished up a set of 6 chairs that are the CH36/37 in mahogany and they really are the perfect chair to demonstrate with.

Here are the videos starting with part 1 through to part 6 totaling about 38 minutes. I tried to edit out all the none essentials but I left comments on parts that will not only get you through the weave but some very helpful pointers that I could have used when I began. I suggest watching it completely through before starting. Once you have completed a chair, if you watch it again, you will likely understand and appreciate the additional comments better.
Please leave your comments. If I have left anything out or something seems to not make sense, please let me know. I spent a bit of time editing these so I would like them to be useful.
By the way, if you click on the "Danish paper cord" tag to the right of this page then you will see some posts on the basic weaving kit that I use. I don't cover this in the video to keep it concise.
Enjoy!

Please leave your comments. If I have left anything out or something seems to not make sense, please let me know. I spent a bit of time editing these so I would like them to be useful.
By the way, if you click on the "Danish paper cord" tag to the right of this page then you will see some posts on the basic weaving kit that I use. I don't cover this in the video to keep it concise.
Enjoy!
Monday, October 8, 2012
Drilling - A View From The Top
When it comes to working in the shop, I am not a die hard fan of any one method for every application. For example, it is easy enough to do all my drilling for a seat with just a battery powered hand drill. But I have been known to use my drill press and an adjustable angle jig to drill critical spindle holes for referencing an arm bow for a continuous arm chair. On the other hand, I drill many holes with a bit and brace. For instance the leg holes and the arm post holes. I love the set up that I starting use for this that I will show below. I have learned that really as much as I like the hard work in making things with muscle power, I am lazy. I mean, as long as I am not compromising quality, I will take the easiest route to complete a task. As much as I admire the set ups used by Pete Galbert, like his mirror and bevel gage combination, which work super accurately, I tend to just grab my tools and start going at it. I dislike setting up things. So when I got this extension for my bit brace I suddenly knew I was going to be drilling differently.

This extension allows me to set my angle gage, place it next to my sighting line and not have to move it while drilling or looking over at it from the side to see if it lines up. Look at how I sight up to drill in the next two photos.

Above, I just keep the shaft of my extension in line with the gage and it is dead on. Since I am so far above it that is easy to do and of course it is nice and close to the drill shaft which is usually not a possibility. An added advantage is that the additional length on both the gage and the drill add to the accuracy, where as, the shorter angle gages and drill bits don't show discrepancy between the two as dramatically.

Here I am looking down the sighting line in order to keep it 90˚ to my resultant angle. (Not sure if that is technically the accurate way to say it but you get my drift) This again works well because of the long shaft. Aiming this is a bit different than the other angle but does well once you get the sense of it. Just keep the shaft pointing down the line. It will be dead on as long as you are aiming while the square is on the line as well.
Below, the results speak for themselves. Here is an arm post hole, with a dummy place in the hole for reference, that was drilled and you can see it is dead on in both planes. The nice thing really is that you can drill all in one go without stopping. No stopping and checking your progress or worse yet asking someone to watch you as you drill to keep you in line.


As a note, the seat blank is set up about 11" off the floor while drilling. I have a cross bar on my bench at that height to support one end and a stool for the other. A clamp keeps everything from shifting.
Well, I love this method. Maybe you will too, maybe not. By the way, there really is no reason you couldn't try this with a battery powered drill and an extension. Give it a whirl! (Pun intended)
If I get around to it, I will show you my even lazier way of drilling for my stretchers. It doesn't require the use of an angle gage, which is a plus.
Subscribe to:
Posts (Atom)